Sunday, December 14, 2014

DIY: Chalkboard Ornament

Christmas is such a wonderful time of year for pulling out the craft
box and keeping those hands busy. Handmade items can be either a
prized decoration for your home (and a wonderful conversation
starter) or a cherished gift for a loved one.  These chalkboard wood
slices might be my favourite project to date - they're rustic, simple,
and since they can be personalized they'll stand the test of time.
The fact that they're unbreakable is a plus too, if you have a
rambunctious kitten or a dog's wagging tail, then you'll enjoy
these wood ornaments. This project is a great one to do with
a friend or partner too - Paul and I had a blast making these!


Materials:

- Wood Slices (I have yet to buy some power tools so my mom cut
these. If you don't have access to a tree and power tools, I believe
craft stores, like Michael's, sells wood slices.)

- Chalkboard paint or spray

- Eye screws

-  Painter's or masking tape

-  Ribbon 

- Chalk 

Steps

1 Purchase wood slices or cut your own tree. My mom had some
trees in her yard she needed to remove. This year after Paul and I
take our tree down, we're going to cut that up into wood slices for
future DIY projects. As they say, waste not, want not. 

2 Tape sides of wood slices to stop paint from getting onto
the wood.

3  Spray/Paint wood slices. I had to do four coats, letting it dry
24 hours each time. Wood absorbs the paint more so than a wall
does; I only had to use two on my kitchen wall. 

4 Remove tape

5 Screw eye screw into the top

6 Add ribbon

7 Write whatever message you want - the best part! 

Thursday, December 11, 2014

Industrial Leftovers

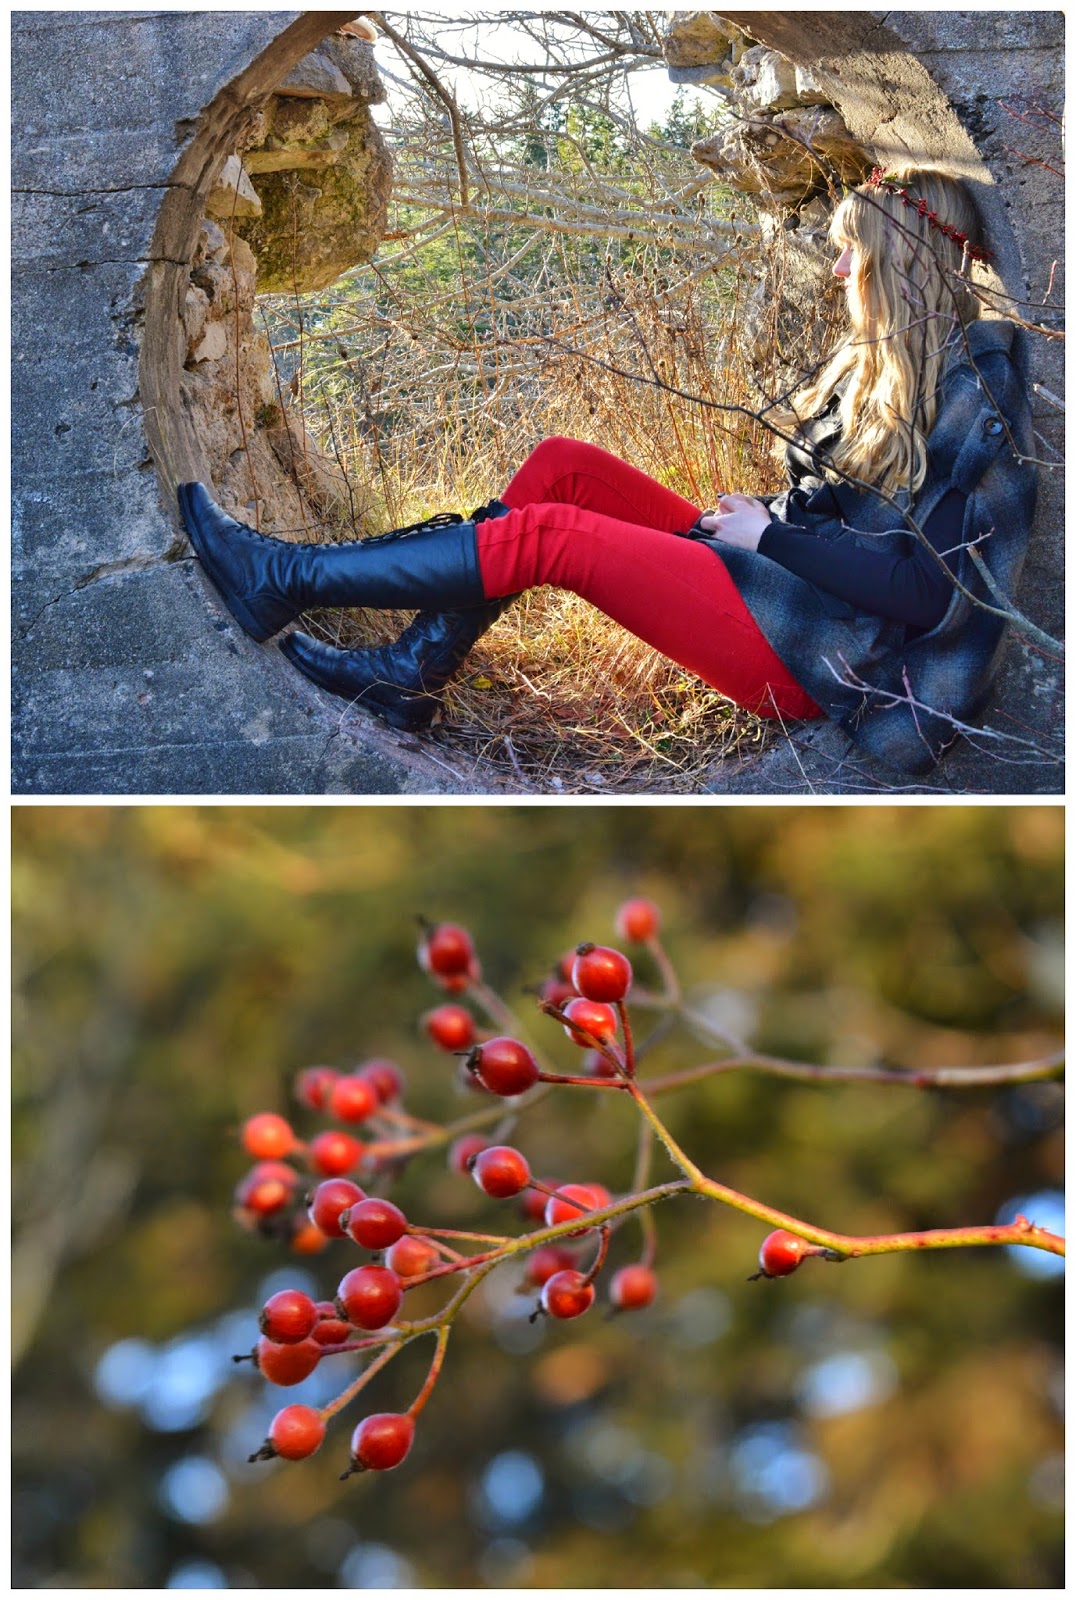
There are places forgotten; places ignored and left to deteriorate.

I am drawn to these places, like ants to a sugary confection
 melting on the hot pavement under the sun. 

There are no fellow walkers, no family pets to encounter,
only wild birds and the sound of the hard December ground
crunching beneath the weight of your step. 

It's here that the mind's imagination can run as wild and 
free as the northern wolf.  The grade school mantra who,
what, where, when, why, and how clouds the mind. 

It's as if I've discovered my own magical wardrobe
and have been transported to another world. I imagine
it is not industrial leftovers that I explore; it is where
once a lord and lady lived.

 I climb the rocks like a careless child.  The stone is cold 
and rough. From atop I am reminded of my youth, I'm
the king of the castle and you're a dirty rascal. 

I return home with muddy boots, rosy cheeks,
and tired legs. 

A wanderlust heart is never bored. The world
is my playground; waiting at my doorstep is 
adventure - I can hear it whisper my name.


Outfit:
DIY // Garland Crown
Thrifted // Cape
Thrifted // Jeans
Vintage // Boots
Vintage // Camera Bag

Wednesday, December 10, 2014

DIY: Mini Pine Cone Wreath Ornament

Here we are, another DIY as easy as the A-B-C's - not to mention
incredibly light on the wallet. So cheap you could collect sidewalk
change to pay for this project! The idea for this ornament came as
I was cutting the tops off pine cones for my wreaths and all these
little flakes fell off. Instead of throwing them away this is what I
did! Everything I used except for the glue was from the earth or
leftover bits, such as the cardboard and jute. If anyone knows of
an eco-friendly alternative for glue sticks, please share! So put
cheery Christmas music on, fill your glass with deliciously
creamy eggnog and go make some holiday crafts! 

Steps:

1 Take pine cone flakes off your collected pine cones.
Note: Try to take already fallen cones from several trees.
If they are damp and closed, just wait a couple of days,
they'll open up. 

2 Make wreath cut outs on cardboard or other non-flexible
material. Cut out. 

3 Glue pine cone flakes onto cut-out. 

4 Glue jute onto back. 

Easy-peasy!

Monday, December 08, 2014

A Holiday Tree from Evergreen Country

Although I'm attempting to decrease my material gratification, there
is no doubt I'm a sucker for anything else holiday related. I haven't
had a tree in about six or seven years, so this season I wanted to go
all out. Paul and I headed to a ma and pa Christmas tree farm for the
ultimate experience in picking our tree. The farm was located in an
area with thick forests that go on for miles and miles.  I'll cheerfully
admit I was as giddy as a child walking through the endless acres of
fluffy evergreens. I might also admit that I took no part in the actual
cutting of the tree...I'm not sure I would be a very good frontier
woman! I see a new holiday tradition in the making....


Outfit:
Thrifted // Beanie
Thrifted // Scarf
Thrifted // Sweater
Thrifted // Jeans
Vintage // Boots

Tuesday, December 02, 2014

DIY Pine Cone Wreath

My home just doesn't feel festive without a wreath - or three. 
Whether hanging on the door as an invitation or on the wall as an
art piece, wreaths are classic. They're a perfect addition to your
holiday decor since they can be personalized to the nines and are
very easy on the wallet (unless you choose otherwise that is). I also
find making holiday crafts puts me in the mood. Although, the
glass of delicious cold eggnog on the table and the Christmas
movie playing on the TV might have something to do with it! 


Materials:

Pine cones
Glue gun 
Glue sticks 
Cardboard
Scissors 
Ribbon

Steps:

1. Collect a whole bunch of pine cones.

2.  On cardboard, or another semi-flexible
material, draw a circle. I used bowls of
various shapes. 

3. Cut out the circles. To cut out the middle,
fold the circle in half. 

4. I used only the tips of the pine cones, that
way the wreaths are more flat. This is optional.
If you do cut them, save the ends and pieces
that fall off, I have for you a tree ornament
that will use all those bits up! 

5. Glue the pine cones facing upright onto the
cardboard. 

6. Hang with ribbon. This is also optional. 

And voila! That's it. Pretty simple and very
inexpensive. I'm not sure how the pine cones
will hold up, if at all, this is the first one I've
made. My goal this Christmas is to make my
own things as much as possible, to refrain from
buying things made in say China or Vietnam.
Sorry, China and Vietnam, no offence meant
by calling you out there. I just think I ought
to support my own country; you know,
promote industry at home. I know - who
invited Debbie Downer? It's not so much a
pain for me as it is a way to test my creativity.
And I'll stop now. I have a bunch of DIY 
ornaments coming up in the next few weeks
so stay tuned!

Monday, December 01, 2014

A Tassel of a Different Nature

I always wondered what the holidays would be like without the
biting cold and inviting fluffy snow. After this year , I don't think
I will be wondering anymore. I'm not sure how Californians do
it! I want to wear overzealous Christmas ensembles and Nordic
sweaters, but without snow and with temperatures sitting at a
mild plus thirteen, it just feels odd. It all feels odd. Paul and I
have plans for a Christmas Tree Farm excursion - if we keep on
waiting for snow we might not have a tree until it's too late!
Because it was pleasantly warm today I walked past my
sweaters this morning and left the mittens at home. I was
also given a chance to wear my new (but someone's old)
dress. It feels as if I've wrapped my body in a blanket and
I love the tassels that sway in the wind - it also happens to
be an invitation for the cat to play.  

Outfit:
Thrifted // Dress
Roots // Scarf
DIY // Necklace
Gift // Bracelet from Saudia 
Arabia
Vintage // Boots

Friday, November 28, 2014

The Girl in the Long Red Skirt

 Although there's no snow on the ground, the holidays are in full
swing at our household! My hands have been busy making 
decorations, winter-themed items have taken over our shelves
and walls, and our calender is marked with holiday events. 
Acquire memories, not things is our motto this holiday season.
The focus shall not be on money spent and luxurious gifts, but
rather our time and energy will be devoted to occasions and
events.  A few evenings ago my family and I went and saw A
Christmas Carol, a popular classic tale - it was the perfect way
to kick-start the holidays. What could be sweeter than the song
Christmas Bells being performed live? Yes, I'm feeling quite
festive this year - hence the red and white ensemble with
gold touches. Be prepared to be bombarded with Christmas-y
outfits and pictures. You have been forewarned....

Outfit:
Thrifted // Owl Necklace
DIY // Bead Necklace
Thrifted // Top
Thrifted // Skirt (Made in Canada)
Gifted Gold Bracelet from Saudi 
Arabia
Old Navy // Flats 
Related Posts Plugin for WordPress, Blogger...